Whiteboard animation, the kind where a story is drawn out before your eyes, has become hugely popular. It’s no wonder: there are countless benefits of whiteboard videos. That’s because they command attention, they tell a story in a dynamic and entertaining way, and they stimulate a sense of anticipation.
If you need convincing, check out the eye-popping whiteboard animation statistics that resulted from a third-party study of our own videos.
Making whiteboard videos is fun, but the process can seem quite complex at first. Before we take you through the making of a specific whiteboard video we made for a client, take a look at our fun whiteboard video that outlines our time-tested whiteboard animation process:
Our Whiteboard Example
Some time ago, Exaltus worked with Berggruen Institute to produce this whiteboard video:
Berggruen’s mission is to foster new thinking about the most consequential social & political issues of our day. With this video, timed to coincide with the 2016 US Primaries, their goal was to expose the cost of populism and demagoguery on democracy, in an innovative way.
The video was viewed more than 26,000 times on Berggruen’s Facebook page, eliciting passionate comments and fueling charged discussion. Here is how we produced this video.
1. Brainstorm Ideas
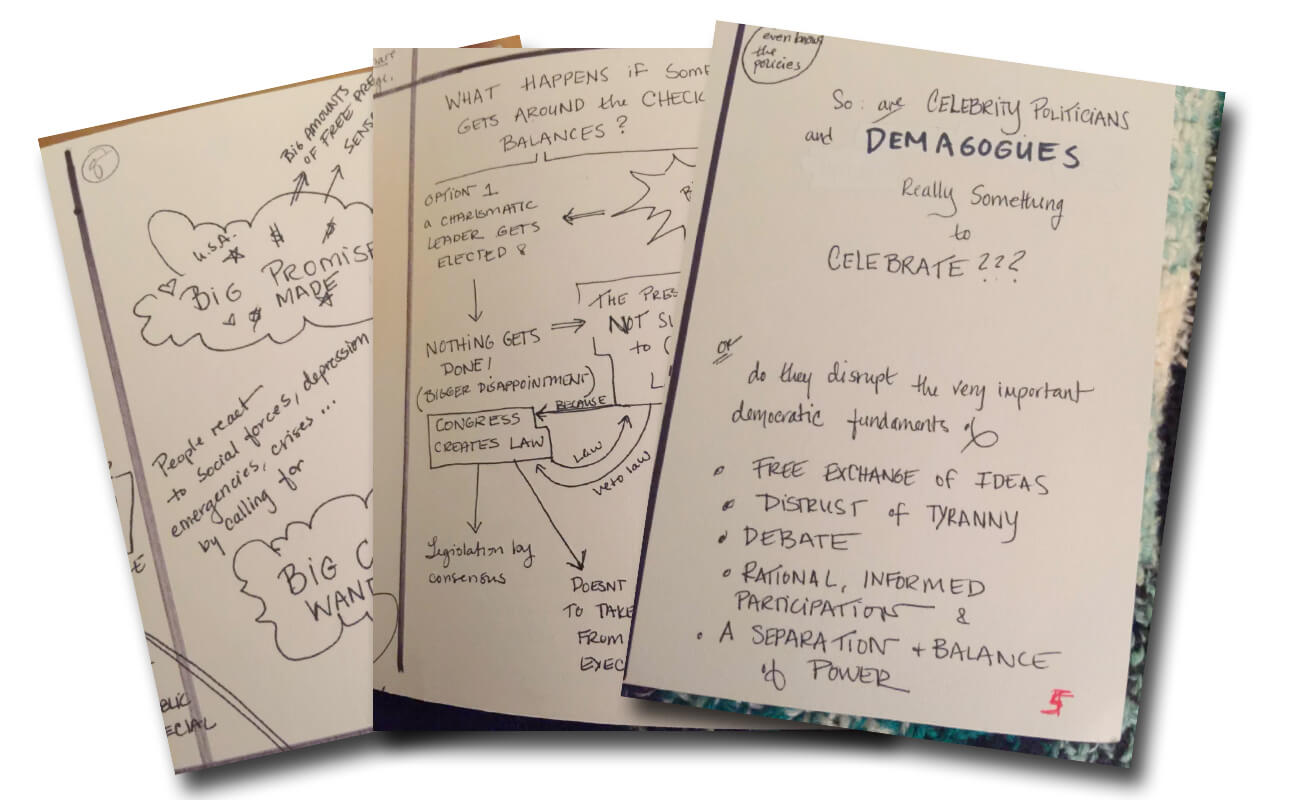
The first step to producing your whiteboard video is to figure out exactly what you want to say. Free, unfettered brainstorming sessions got the job done for the Berggruen team.
At right is a sample of what they sent me to work with.
2. Write a Script
Once you’ve piled all those helter-skelter and unrelated ideas, you’ll need to craft them into a script—line them up into a sequence of connected ideas. Whiteboard videos are meant to simulate someone doodling on a whiteboard while they walk you through their ideas: the tone should be friendly and conversational, not stilted and formal.
English-speaking Americans speak at an average pace of 150-160 words per minute. If you’re shooting for a two-minute long video, you should aim to keep your script to approximately 320 words.
Remember this when you’re writing the script: you’re going to need to illustrate the words you choose. That means that, whenever possible, you should think visually. It also means a simple image to illustrate a simple idea and several pictures for a complex idea. Why? Because it should take you as long to verbalize an idea as it does to draw out the images that correspond to it.

Learn to explain complicated things in a simple way
Find out how to explain complicated things in a simple way that attracts and holds attention, builds trust, engages your audience, and moves them to act.
3. Prepare a Storyboard
When you’ve nailed your script, it’s time to focus on the video’s storyboard, which essentially maps the words that are spoken, to the visuals chosen to depict them.
There are different approaches to storyboarding a whiteboard video – from broad stroke to hyper detailed. At the most detailed extreme, some firms will painstakingly draw out every illustration they plan to use in the video, and very specifically indicate in their storyboard what portion of the illustration is being drawn out while each phrase is spoken.
I advocate a somewhat more fluid approach. For reasons I’ll detail in the next section, the illustration phase can be quite time-consuming. Out of respect for my clients’ budgets, I don’t like to start illustrating in earnest until we have agreed on what it is we’ll be drawing. And that, to me, is the role of the storyboard: to reach agreement on which visual concepts will be used to depict each idea, before we go too far down the road of drawing and animating those visuals.
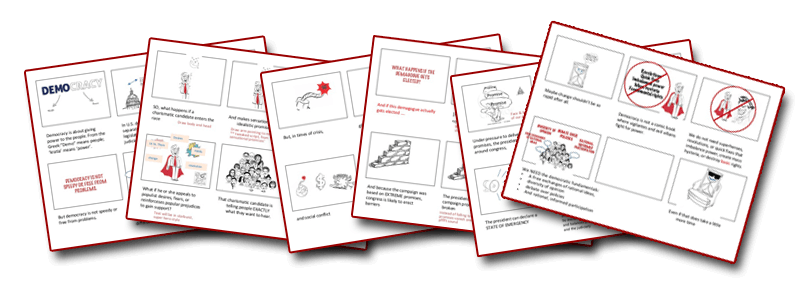
With that in mind, the visuals I use in the storyboard are a combination of original images, placeholder stock images, and descriptive comments.
4. Illustrate your Visual Elements
Once you have approval on the storyboard, it’s time to roll up your sleeves and start illustrating.
How you illustrate your images depends on how your animation software functions. Take the time to plan: it will save you a great deal of time when you start animating.
For example, Videoscribe, the animation software I use, draws out lines in the same order that you do when you construct the illustration. It also draws out simple lines better than tapered or artistic lines; and it displays fills all at once, rather than drawing them in. With experience, I’ve learned the right way to work around these peculiarities and assemble my illustrations so that Videoscribe will animate them the way I’ve envisioned. A little planning goes a long way, which is why the illustration stage is so important.
While you’re illustrating, you’ll want to check in frequently with the video’s other stakeholders (e.g. your clients or team members) to encourage discussions around illustrative style. You’d be surprised at how many ways and to what degree your initial vision and your client’s vision may differ—different drawing styles, subtle differences in the message they want conveyed.
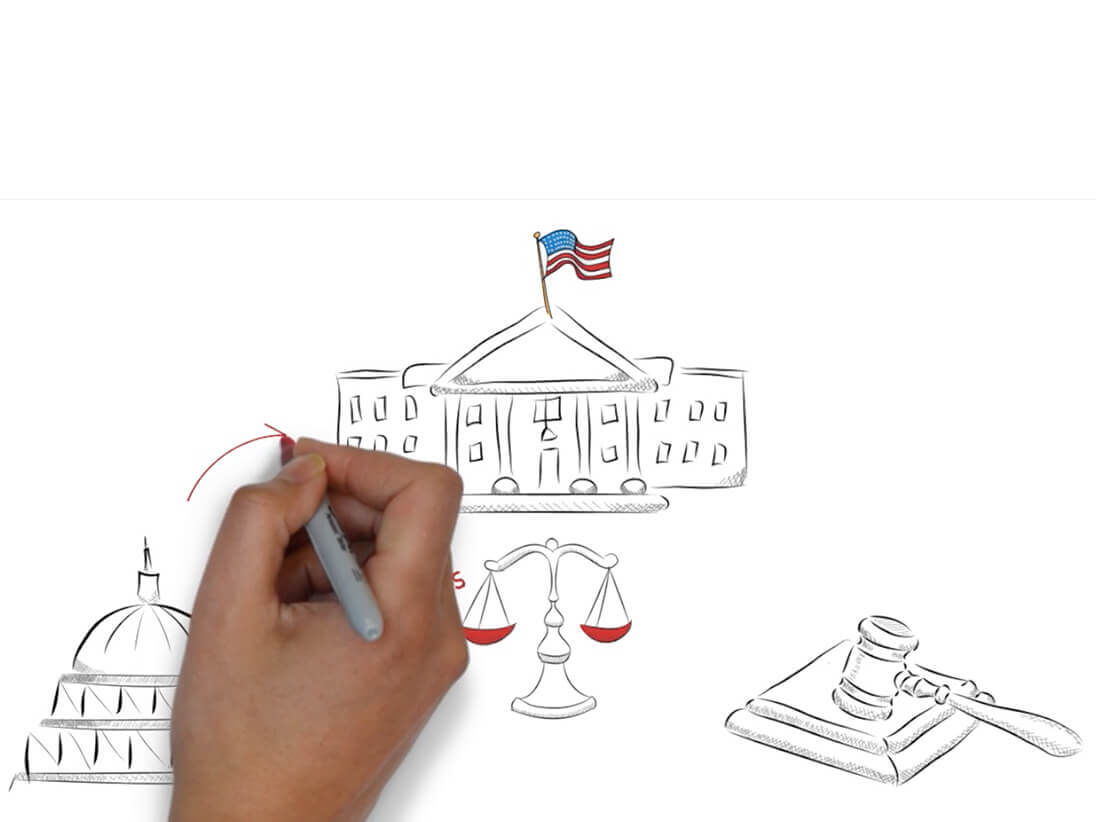
In our case, for instance, Berggruen preferred a looser, more sketchy style than I had in mind. So I revised my proposed drawings accordingly, as you can see here:

Another important adjustment concerned the main character of the video – the demagogue. Following discussions with Berggruen, I had drawn both Trump and Sanders, as two leaders who, in their view, espoused the characteristics described – i.e. populist beliefs, the creation of an us Vs. them dynamic, etc.
In the end, we decided that it would be confusing to go back and forth between the politicians. In addition, Berggruen didn’t want the video’s focus to be a particular individual. Their concern regards demagoguery, not any individual demagogue. For that reason, we retired cartoons of Trump and Sanders and instead created a single fictional main character:

5. Create Your Animations
Once you’ve composed your illustrations, you’re ready to import them into your animation software. There, you’ll have a number of artistic decisions to make – the hands and pens you use, the layout of your different elements, the zooming and panning you do, etc. Most importantly, you’ll want to set your timing parameters for each visual element.
For timing purposes, I usually record a quick-and-dirty temporary voiceover based on the approved script. I don’t bother with professional recordings just yet, because the video is still in flux. Although we try not to make any major changes to the script or storyboard at this stage, sometimes it does take seeing the video live in action to notice that some wording or visuals need fine tuning.
6. Record Your Audio
When the animation is complete and approved, you’ll need to update the script to reflect any changes made along the way. You can turn your attention to the voiceover. A professional voiceover can really elevate a whiteboard video, if you choose the right person. Factors you should consider include the gender and accent of your voiceover artist, and whether they are appropriate for the video.
Whomever you choose, the artist needs to adopt a conversational speaking style that matches the informality of your script. If possible, have your artist mirror the rhythm and cadence of your temporary voiceover. Any departure from your initial timing will mean edits to either the audio, or to the animation, to ensure that they are in synch.
We relied on the considerable talents of CDMC to manage the audio portion of the video – from the voiceover, to the choice of music, to the sound effects.
7. Finishing touches
With the video and audio approved, you’re almost done. Consider finishing touches, like adding branding, a title, a call to action, and/or credits.
Over to You
That covers the major steps in the making of a whiteboard animation video. I hope it will inspire you to try your hand at one yourself. If you need some help producing your next video, please contact Exaltus. And be sure to check out more of the whiteboard animation examples in our portfolio
If you’ve already produced your own whiteboards, I’d love to hear your thoughts on this piece, and what you might do differently.









It’s difficult to find experienced people in this particular topic, however,
you sound like you know what you’re talking about! Thanks
Thanks H! I’d like to think I’ve learned a few things along the way.